Premium cuts, shaves and grooming at Emperor Cut & Laser Barbershop in Little Elm, TX.
- 7,200+ happy clients
- Experienced professional barbers
- Easy online booking
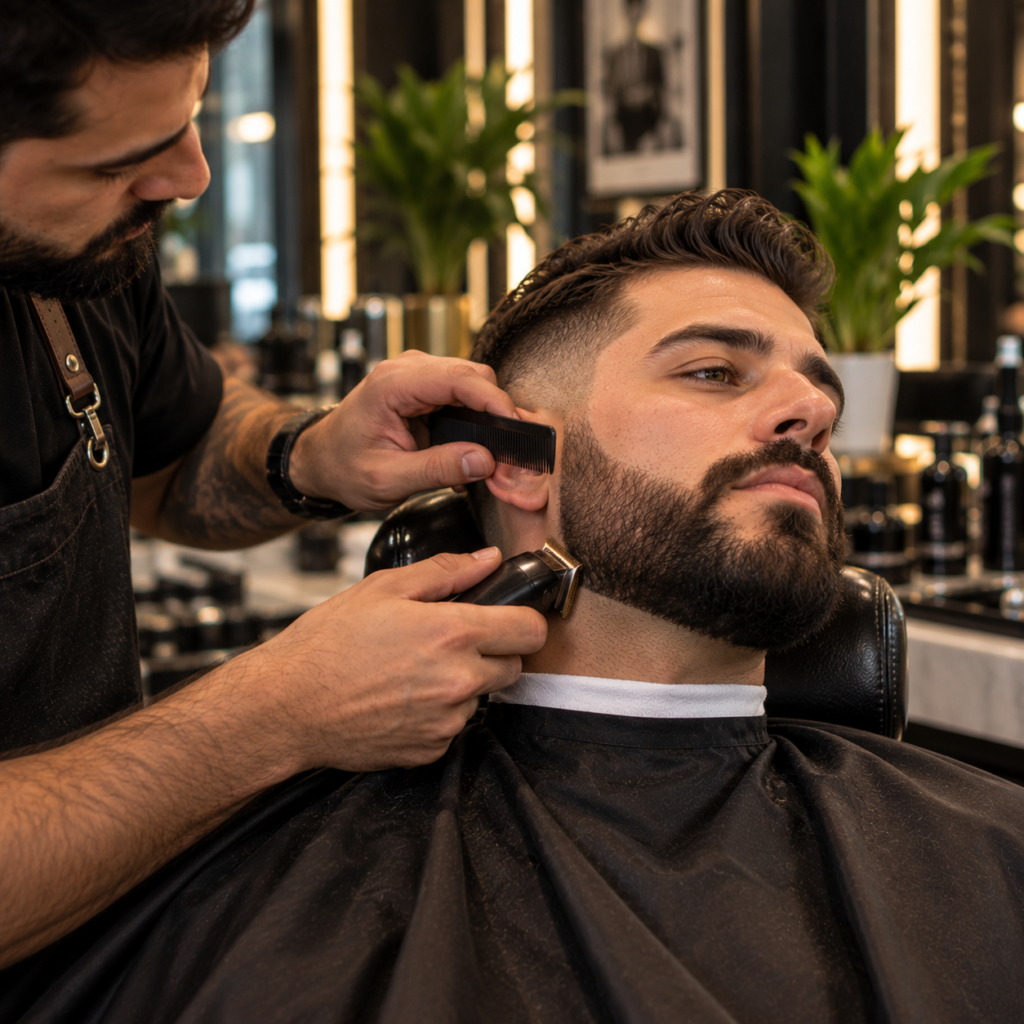
If your beard looks messy even after you trim it, the problem is almost always the neckline. Learning how to trim your beard neckline correctly is the single biggest upgrade you can make to your beard at home. A clean neckline makes a beard look fuller, makes your jaw look sharper, and separates a groomed beard from one that simply grew.
What’s in this guide8 sections
The tricky part is that most men put the line in the wrong place. Trim too high and you get the dreaded “chin strap on a double chin” look. Leave it too low and the beard melts into neck hair. In this guide we show you exactly where your neckline belongs, the tools that make it easy, a step-by-step method barbers use, and the mistakes to avoid.
Why the Neckline Matters for a Clean Beard Look
From the front, people mostly see your cheeks and mustache. But from the side, in photos, on video calls and in conversation, the neckline is what frames the whole beard. A crisp, well-placed neckline:
- Defines your jaw, even if your beard is short.
- Makes the beard look thicker because the density stops at a clean edge instead of thinning out down the neck.
- Looks intentional. A neat neckline says you take care of your beard, even when the rest is a little long.
- Keeps your collar cleaner and reduces itching where neck hair rubs against shirts.
Finding the Correct Neckline: The Two-Finger Rule
Barbers use a simple guide called the two-finger rule:
- Look straight ahead in the mirror. Keep your head level; do not tilt your chin up.
- Place your index and middle fingers together horizontally on your neck, with the top finger resting just above your Adam’s apple.
- The top edge of your fingers marks the center point of your neckline. Everything below your fingers will go.
Next, find the sides of the line. Imagine a curve that runs from that center point back to the spot just behind each earlobe where your jawbone turns upward. The neckline should follow a gentle “U” shape that connects both points, not a straight horizontal line and not a line that hugs the jawbone.
Quick checks:
- Too high: you can see the underside of your jaw from the side, and the beard looks like it is floating.
- Too low: hair is visible on your Adam’s apple and the beard spills onto your neck.
- Just right: from the side, the beard covers the soft area under your jaw and ends in a clean curve about one to one and a half inches above the Adam’s apple.
Tools You Need
| Tool | Why you need it |
|---|---|
| Beard trimmer with guards | Shortens the beard evenly before you define the line |
| Trimmer with a T-blade or detail head | Gives a precise edge for the neckline itself |
| Mirror (plus a hand mirror) | Lets you see the line from the side and under the jaw |
| Beard comb | Lifts hairs so they are cut evenly |
| Razor and shaving gel (optional) | Gives a smoother finish below the line |
| Aftershave balm | Calms the skin and reduces redness |
Always trim on a dry, combed beard. Wet hair looks longer than it is, so trimming wet usually means taking off too much.
Step-by-Step Trimming Guide
Step 1: Trim the overall length first
Comb the beard downward and run your trimmer with your usual guard over the cheeks, chin and jaw. Getting the length even first makes it easier to see where the line should go.
Step 2: Mark the center point
Use the two-finger rule. Without a guard, carefully trim a small horizontal line at the top of your fingers. This is your anchor.
Step 3: Draw the curve to one ear
From the center point, move the trimmer outward and upward toward the spot behind your earlobe. Work in short, careful strokes. Do not try to do the whole side in one pass.
Step 4: Mirror it on the other side
Repeat the same curve on the other side. Check both sides with your hand mirror and adjust slowly until they match.
Step 5: Clear everything below the line
Remove all hair below the neckline down to your collar area with the trimmer. For a smoother finish, shave below the line with a razor and gel.
Step 6: Soften the edge (optional)
A razor-sharp line looks great for a day but grows out obviously. For a more natural look, use a short guard (like a #1) to fade the last quarter-inch just above the line.
Step 7: Clean up and moisturize
Rinse with cool water, pat dry and apply an aftershave balm or a few drops of beard oil to the beard and a fragrance-free moisturizer to the neck.
Common Mistakes to Avoid
- Trimming with your head tilted back. When you lift your chin, the skin stretches and the line ends up much higher than you intended. Keep your head level.
- Following the jawline. This is the most common mistake. A neckline on the jawbone makes the beard look thin and can make the face look heavier from the side.
- Taking a little more “just to even it out.” Each correction moves the line higher. Stop, step back, and look from a distance before you trim again.
- Making a straight line. The neckline should curve up toward the ears, not run straight across.
- Forgetting the area behind the ears. Leftover patches here make the whole beard look untidy.
If you have already gone too high, the only fix is to let it grow back for one to two weeks before redrawing the line lower.
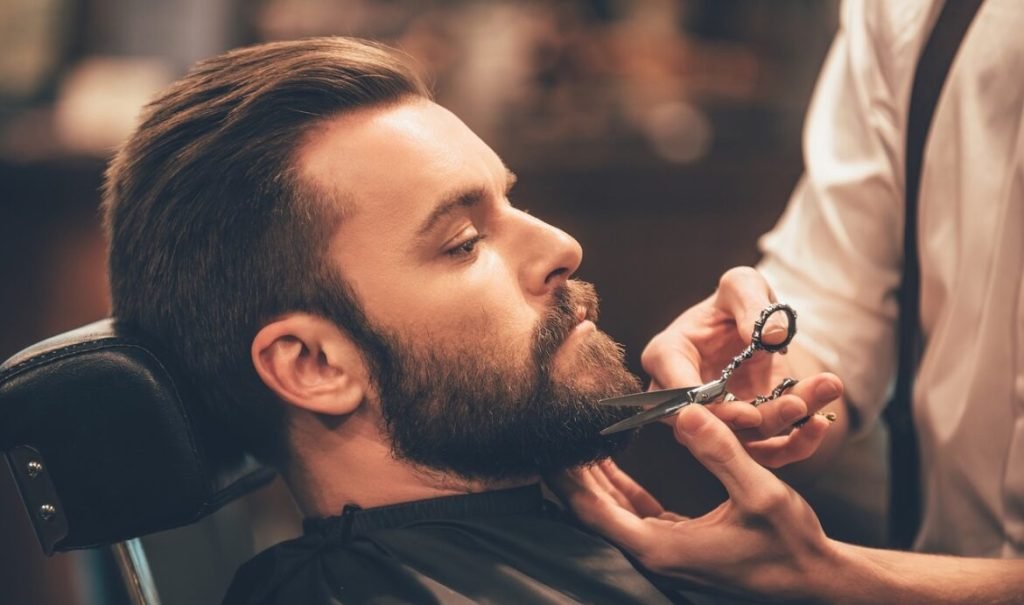
When to Leave It to a Professional Barber
Home maintenance is great between visits, but a barber is worth it when:
- You are setting the shape for the first time, or changing your beard style.
- Your neckline has been trimmed too high and needs a reset.
- You want a faded beard that blends into your haircut.
- You get ingrown hairs or irritation on the neck and want a straight-razor finish with hot towels.
At Emperor Cut & Laser, a beard trim with a faded, trimmer line-up is $20, a detailed beard trim for fuller beards is $25, and a beard trim with a straight-razor line-up is $35. Once a barber sets the line, you can follow it at home for weeks. If you are still choosing a shape, see our guide to beard styles for every face shape.
More From Our Chair
FAQ
How do I find the right neckline placement for my beard?
Use the two-finger rule: place two fingers above your Adam’s apple with your head level. The top of your fingers is the center of the neckline. From there, curve the line up toward the spot just behind each earlobe.
How often should I trim my beard neckline?
Every three to five days keeps it clean for most men. Neck hair grows quickly and makes the beard look untidy within a week. A quick touch-up with a trimmer only takes a couple of minutes.
What happens if I trim my neckline too high?
The beard can look thin and the underside of the jaw becomes visible, which often makes the face look heavier from the side. The fix is to stop trimming the neck for one to two weeks and let the hair grow back, then redraw the line lower.
Can a barber fix a bad at-home neckline trim?
Usually, yes. A barber can blend and reshape the line, although if it has been cut very high they may recommend letting it grow for a week or two first. After that, they can set a correct line you can follow at home.
A Clean Neckline Changes Everything
A great beard is built from the neck up. Keep your head level, use the two-finger rule, curve the line toward your ears and clear everything below it. Trim on dry hair, go slowly, and you will avoid the most common mistakes.
Want a perfect starting point? Visit Emperor Cut & Laser in Little Elm and let our barbers set your line. Book a beard trim online; we welcome clients from Little Elm, Frisco, The Colony and across DFW.
Explore More Services

Book Your Appointment Today
Skilled barbers, clean tools and a relaxed chair waiting for you. Pick a time online or give us a call — we’ll take care of the rest.
Leave a Reply